Welp, turns out procrastination is my middle name. I’ve been meaning to sit down and write this post for a while, but as with many of the important tasks on my to-do list, I either forgot about it most days or put it off. Still, since there’s no time like the present (and all that), I’ve finally decided I need to sit my butt down and just DO it.
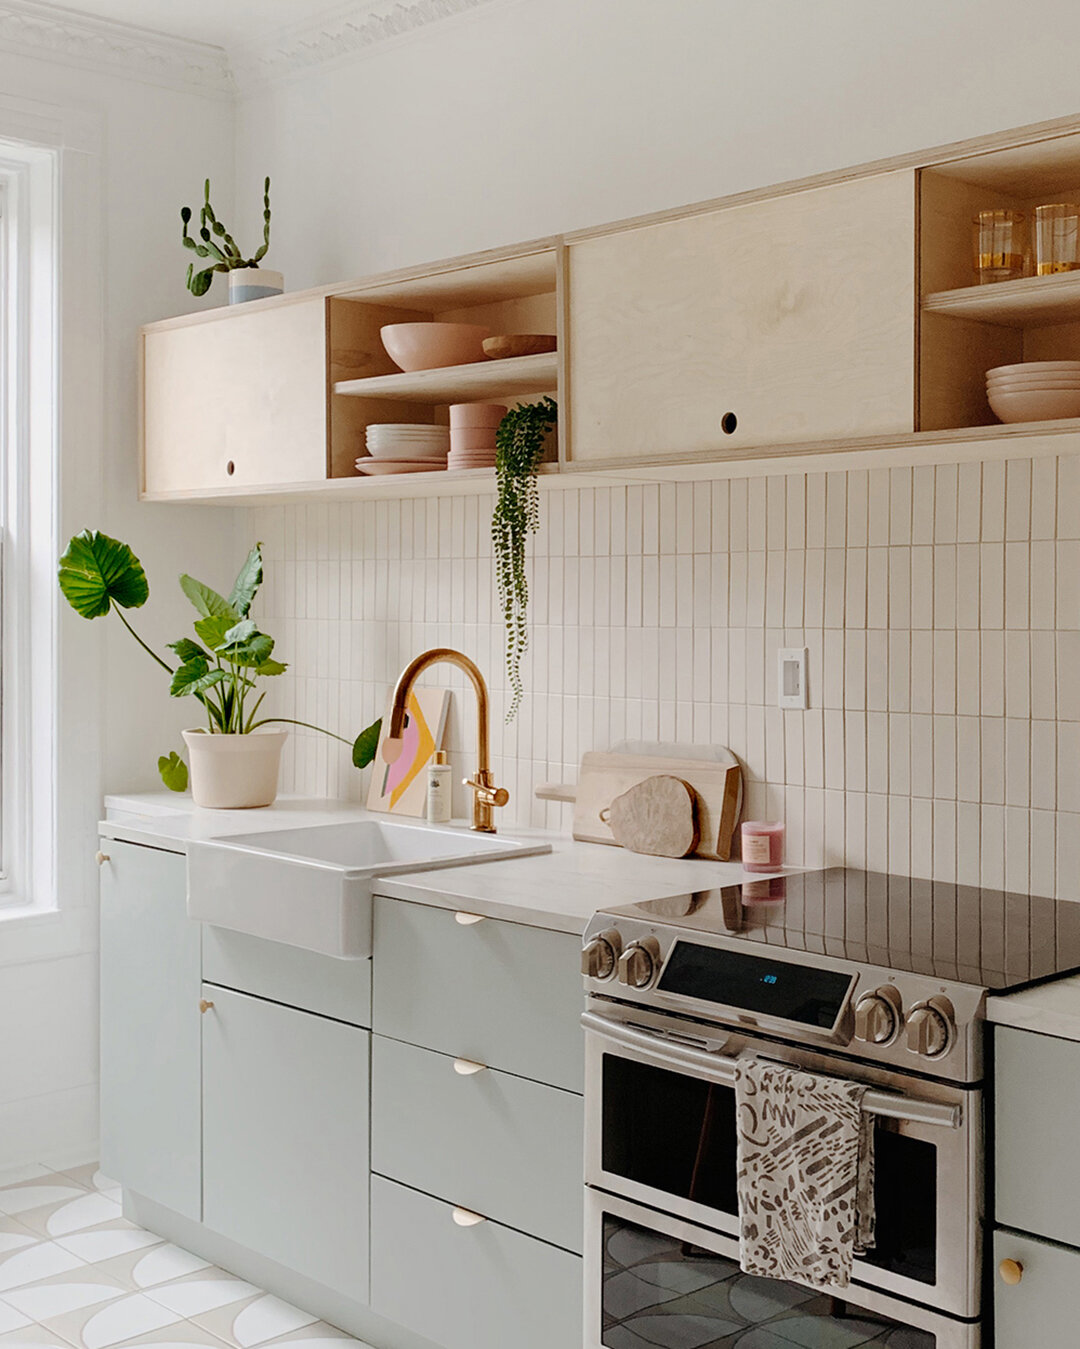
Okay now that’s out of the way, I’m so excited to share the fully completed kitchen! Sure, I’ve shared many images of it on my social platforms, but I haven’t shared a few of these detail shots, nor have I shared the full story about how we came to renovate a kitchen in an apartment we do not own. I’ll get into everything below!
We moved into our one-bedroom floor thru apartment 4.5 years ago. It was the first and only place we looked at in our search. This is far from ordinary, and we had expected to look at many apartments over the week we allotted ourselves to find a place.
I’ll never forget the first time we saw the place, the ceilings were so much taller than I was used to, the windows were large and let in a ton of light, and there were beautiful historical details like original wood floors and moldings on the walls. It was our dream apartment. Well, mostly.
The only space that really didn’t fit in with the rest of the apartment was the kitchen. It had very clearly been updated last in the 1990s. Meaning it had blue-green vinyl floors, with matching blue backsplash tile, and a not-so-matching green marble effect laminate countertop. Oh, and the range and range hood were old, white, and looked as if they had SEEN THINGS. Not to mention the refrigerator was so big, it covered up a good chunk of the window and its pretty trim. Basically it wasn’t cute by any stretch of the imagination. It was fine, and everything worked properly, but it was the reason that I’ve spent the last 4.5 casually hunting for apartments.
Here’s a view of the beauty that was. We removed the upper cabinet fronts a few years in an attempt to up the cute-factor in here. The jury is still out on whether it helped. Make sure to check out that exhaust fan….yummy.
After our first few years here, it became apparent that we had awesome landlords that wanted us to stay here as long as we wanted (our neighbors have lived in the building for over 10 years!) Anytime we asked them if we could make small changes to the apartment, they would respond with a resounding yes, and added that in their eyes, the apartment is ours and they trust us to make any changes we want. JACKPOT.
Still, we didn’t think a kitchen renovation was in the stars (or was logical given we don’t own the place), but we felt that if not for the kitchen, we would want to stay here for many more years. Especially after all of the work we had already put into the place.
Things shifted this summer when I realized that I was willing to invest some of my own money to make our kitchen a bit nicer. Now I know we don’t own the place, but the investment would be in the work potential that it opened up to me if I can take on work with brand partners that are kitchen focused. Something I had never been able to do before. Not to mention, it would just make me feel better to have a kitchen I wanted to spend time in.
Since a huge part of my job is creating content for home decor and lifestyle brands, having an updated kitchen was something that felt necessary. Believe me, if I had a different job, we would have never renovated this kitchen. I just felt like I should make that abundantly clear!
Once I knew that I really wanted this to happen, we knew we needed to figure out a way to ask our landlords. First, I wanted to see if I could bring on a few brand partners to help offset the costs associated with a kitchen reno (we are in no way rollin’ in the dough). If we had to pay for everything ourselves, it would have drastically changed the plan. We still would have gone for it, but we probably would have just changed a few things, and we would have DIY’d most things instead of bringing in new product.
The first big partner I brought on, and the one that inspired the vision for the room, was Fireclay Tile. I wrote up a post about their role in our kitchen here. Once they agreed to take part in the project, I was ELATED. Elated and shocked that this could actually happen. After they agreed, I added semihandmade, AJ Madison (the stove had to go), Delta Faucet, and a partner I had worked with before, Mitzi. Nothing had been ordered yet, but I knew it would be important to outline what we planned to do to the kitchen before approaching our landlords about it.
(you can read the post about semihandmade here, AJ Madison here, and Delta Faucet here)
Once we knew the brands we wanted were interested, we spent a good amount of time planning out what we wanted the kitchen to look like. I spent many hours on IKEA’s website using their Kitchen Planning Tool. David and I also spent many hours pouring over the Fireclay Tile samples, comparing them to the semihandmade doors for IKEA Cabinets we were going with. When we had our final product picks ready, we worked out a plan of action for how to approach the landlords.
We didn’t want to just text them, “Hey can we completely tear apart the kitchen and put it back together? K. THANKS!” So we opened up a trusty Google Doc Proposal Template and filled it out with everything they would want to know. We started by thanking them for being so incredible all of these years, and wrote about how much we love the apartment. Before breaking down costs, we also explained that we believed that such an update to the kitchen would be a wonderful investment for them, because well, it’s true. They own the place, so any kitchen update immediately ups the property value, and cuts the need to do so in the near future.
We then went on to outline all of the materials we planned to use and their cost, either out of pocket for us or their value if they were to be gifted. We listed in detail everything we knew we would have to pay for ourselves, including the IKEA cabinet bases, the materials used to male the GLAM custom shelving, Smeg Fridge, IKEA countertop, hardware, crown moldings, ceiling medallion, and the myriad of supplies we would need to do everything ourselves. I made a mock up of how the kitchen would look after the renovation, and added it to the proposal, along with images and links to every design element we planned to bring in.
Then came the hard part — figuring out how to ask them if they would help pay for this. Sure, it may seem crazy that they wouldn’t pay for it since it’s their property, but at the end of the day, they didn’t ask for a kitchen renovation — we did. Still, even though we were beyond fortunate to have some of the priciest bits gifted, we were still going to have to shell out thousands for everything else. Money we really didn’t have considering we already live in one of the most expensive cities in the world, and our rent (which, fun fact, is actually the lowest out of every single one of our friends), already eats a huge chunk of our income every month. NYC is a whole different $$ world, y’all. •cries•
We proposed a few different reimbursement options while making sure they knew it was ultimately their decision if they wanted to help monetarily or not. They ended up opting to give us free rent 1 month and 1/2 rent for the following 3 months. That ended up almost covering most of what we put into the project! Hallelujah
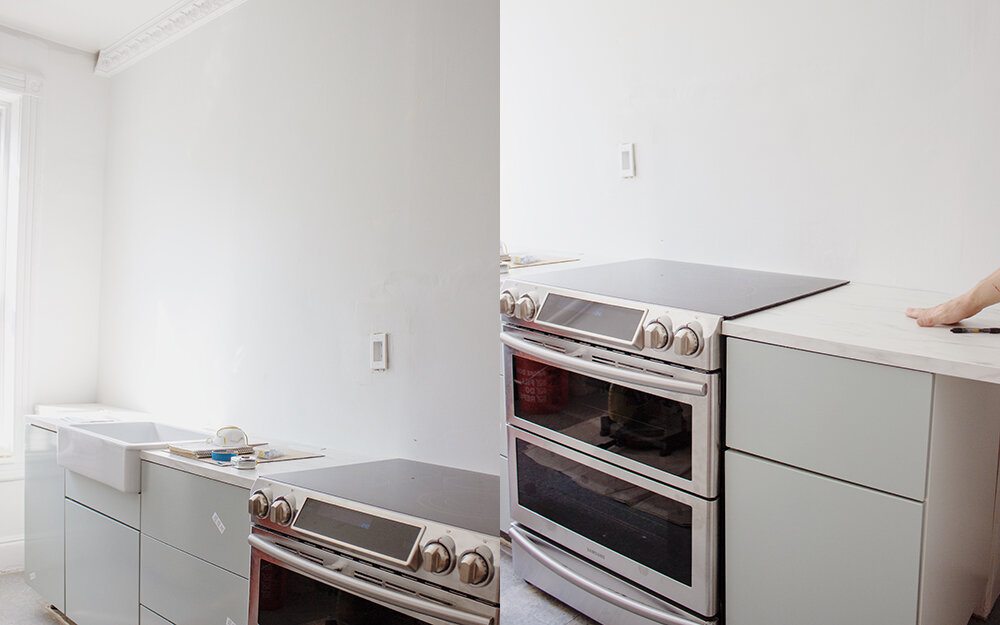
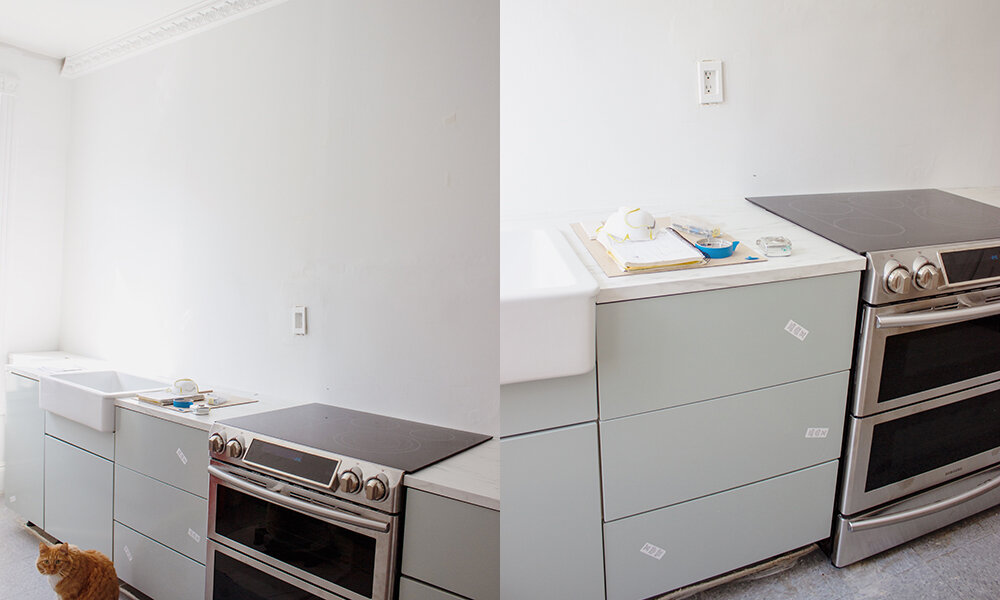
After they gave us the go-ahead, we ordered the materials, waited for them to arrive, and went to what I like to call “YouTube School” to learn how to properly install tile, counters, faucets, you name it.
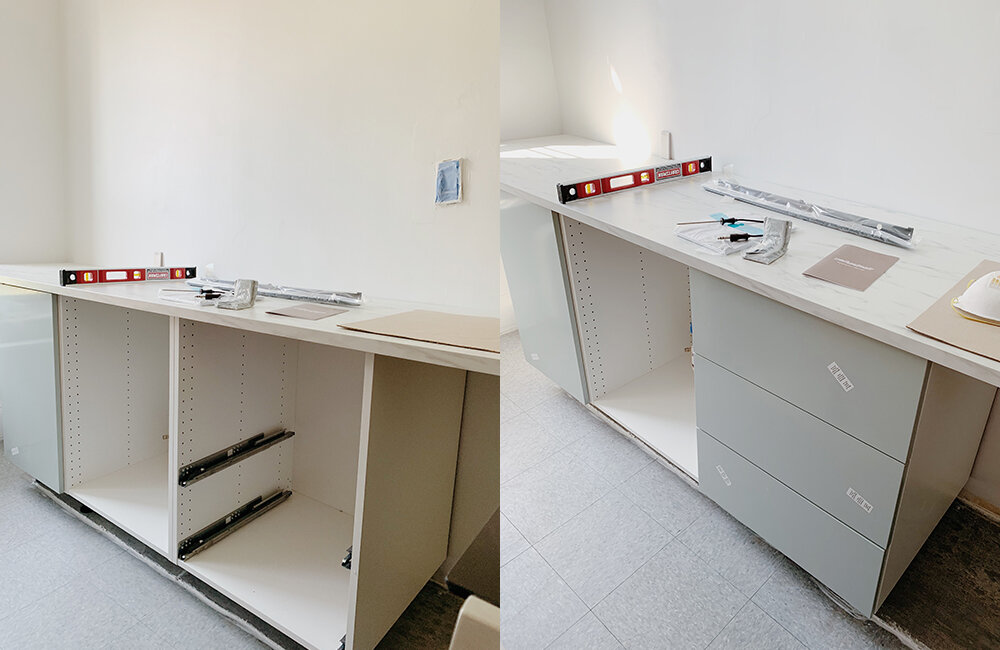
The entire thing was a blur. Once everything arrived, we managed to get the kitchen done within 3.5 weeks. WEEKS, people. David took off 10 days of work to commit entirely to the kitchen, and after he returned to work, he would come home in the evenings and keep going on the kitchen. I kept joking that he needed his own HGTV show.
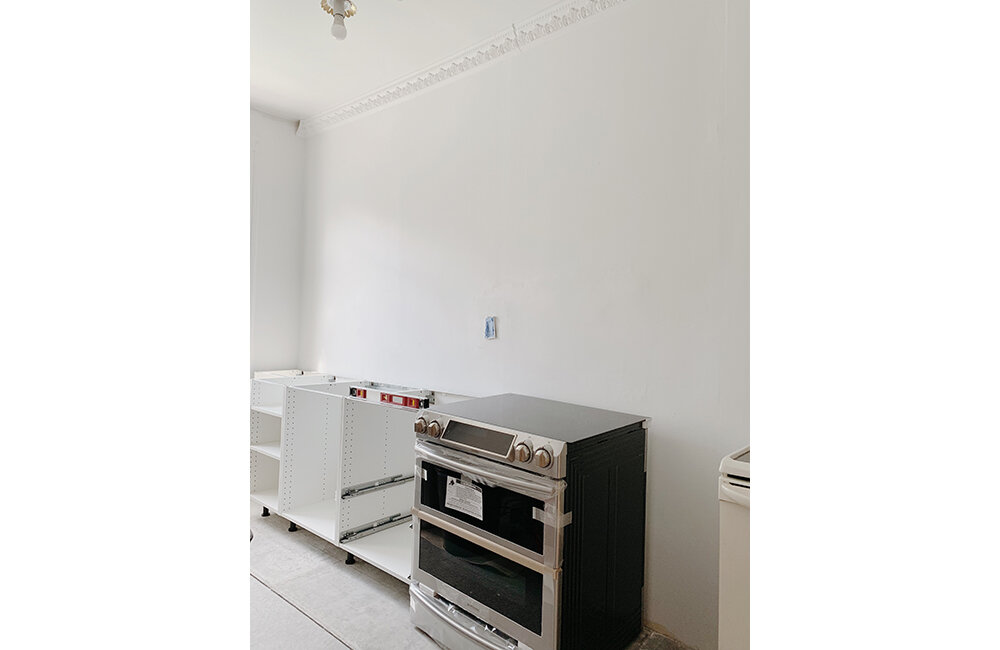
Yes, I helped too. I could build an IKEA cabinet in my sleep at this point. I have to admit that I made a few ordering blunders on IKEA’s website, and we had to drive hours to New Jersey twice in one week because I didn’t triple check everything before ordering. It was definitely not smooth sailing throughout.
I go into more detail on installation specifics in the few posts I’ve linked above. I can’t explain how wonderfully strange it is to see my kitchen dreams come to fruition. We love hanging in here now, and plan to add some stools soon, so we can even entertain in here a bit.
New kitchen, I LOVE YOU.


