Our Bedroom Shelves
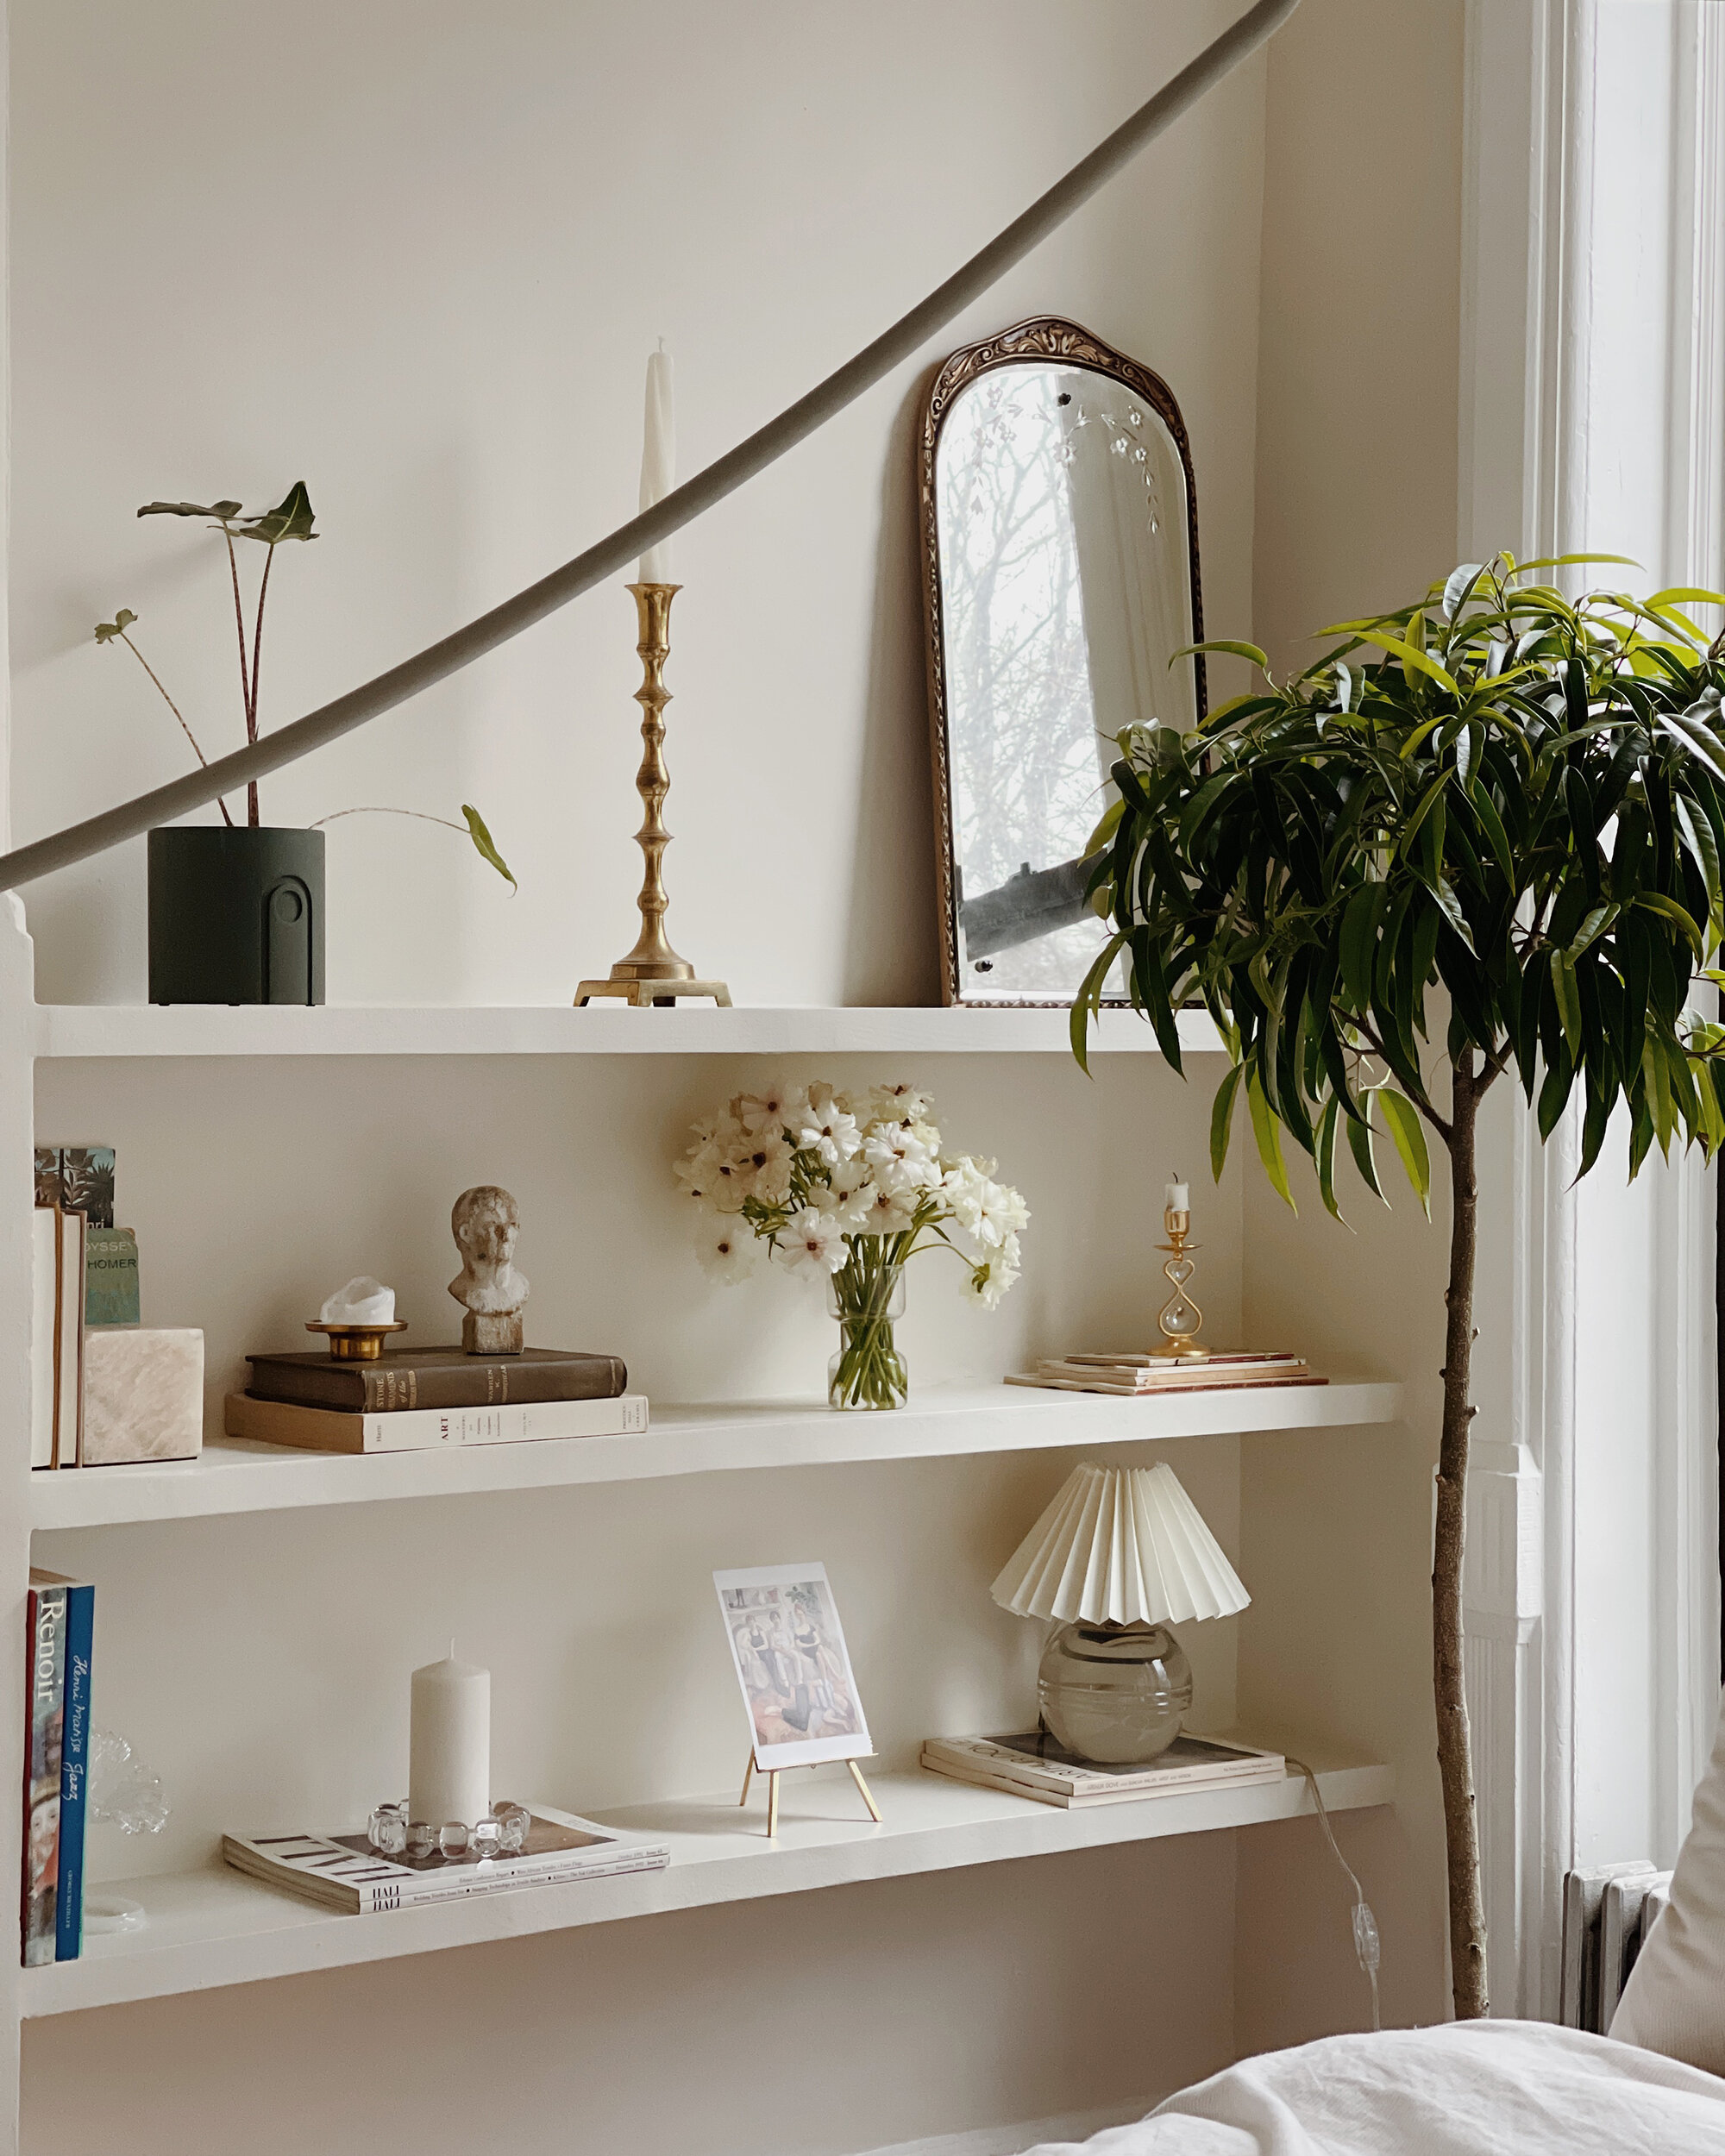
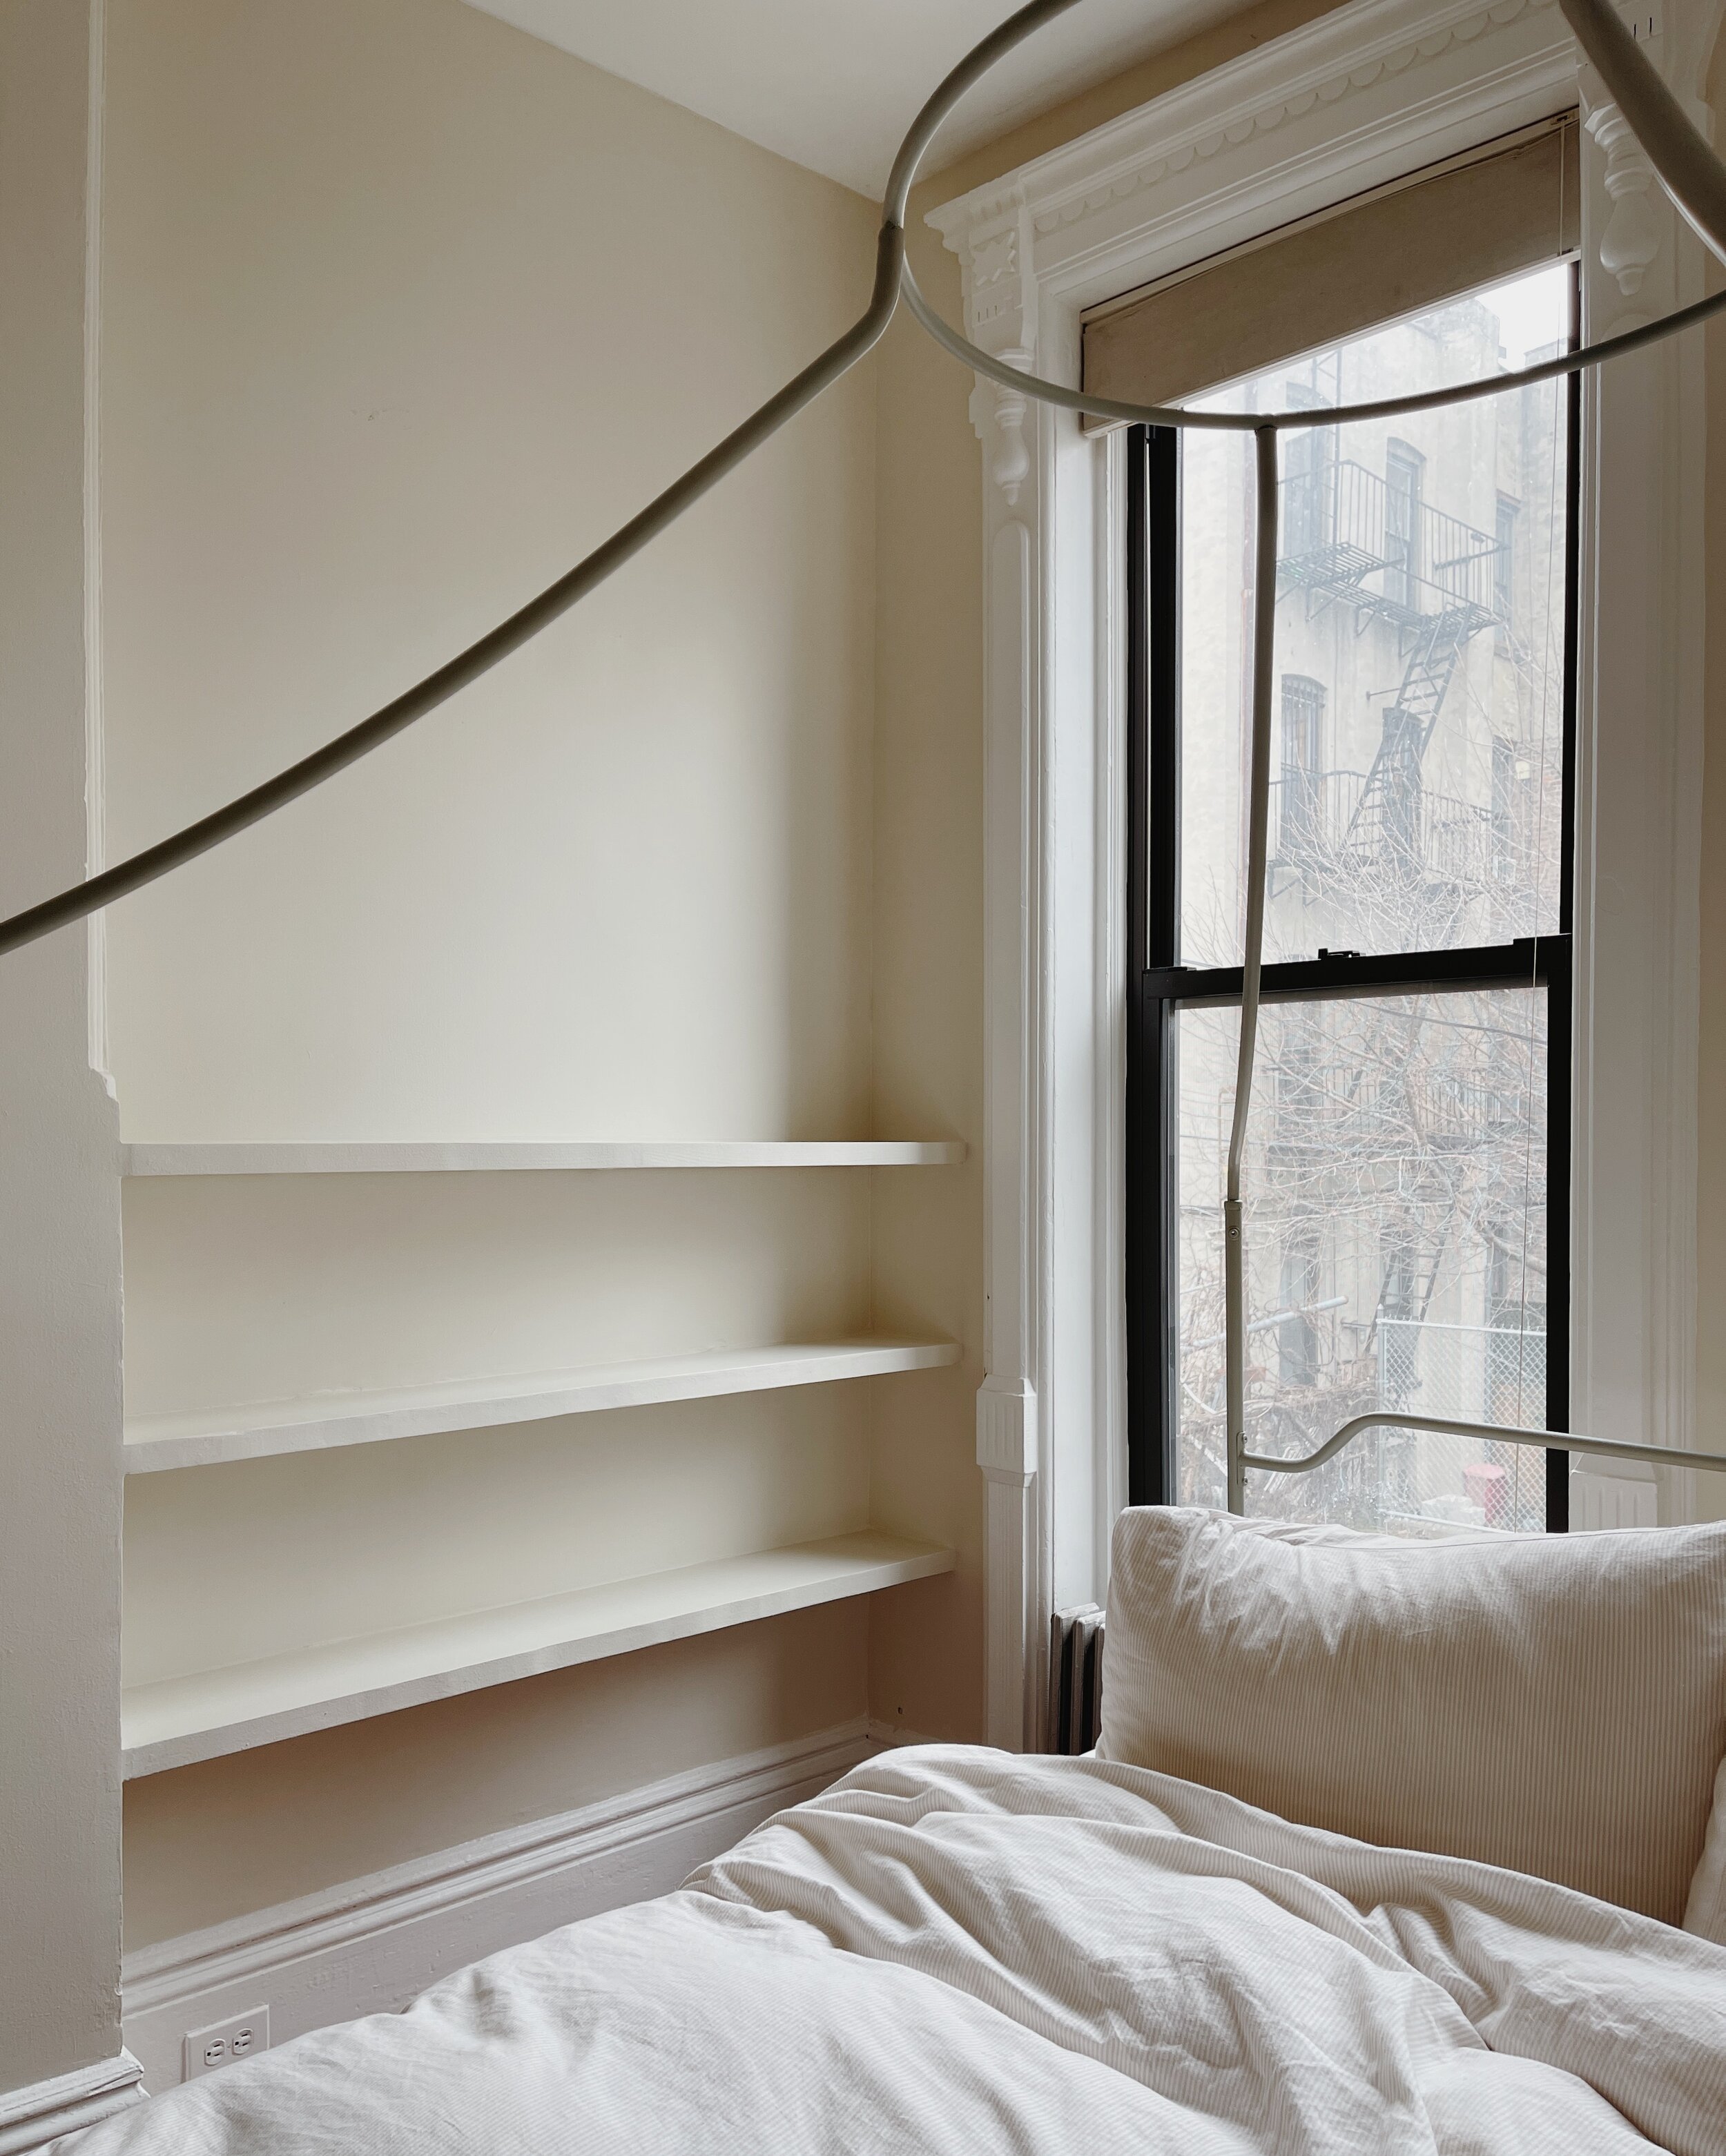
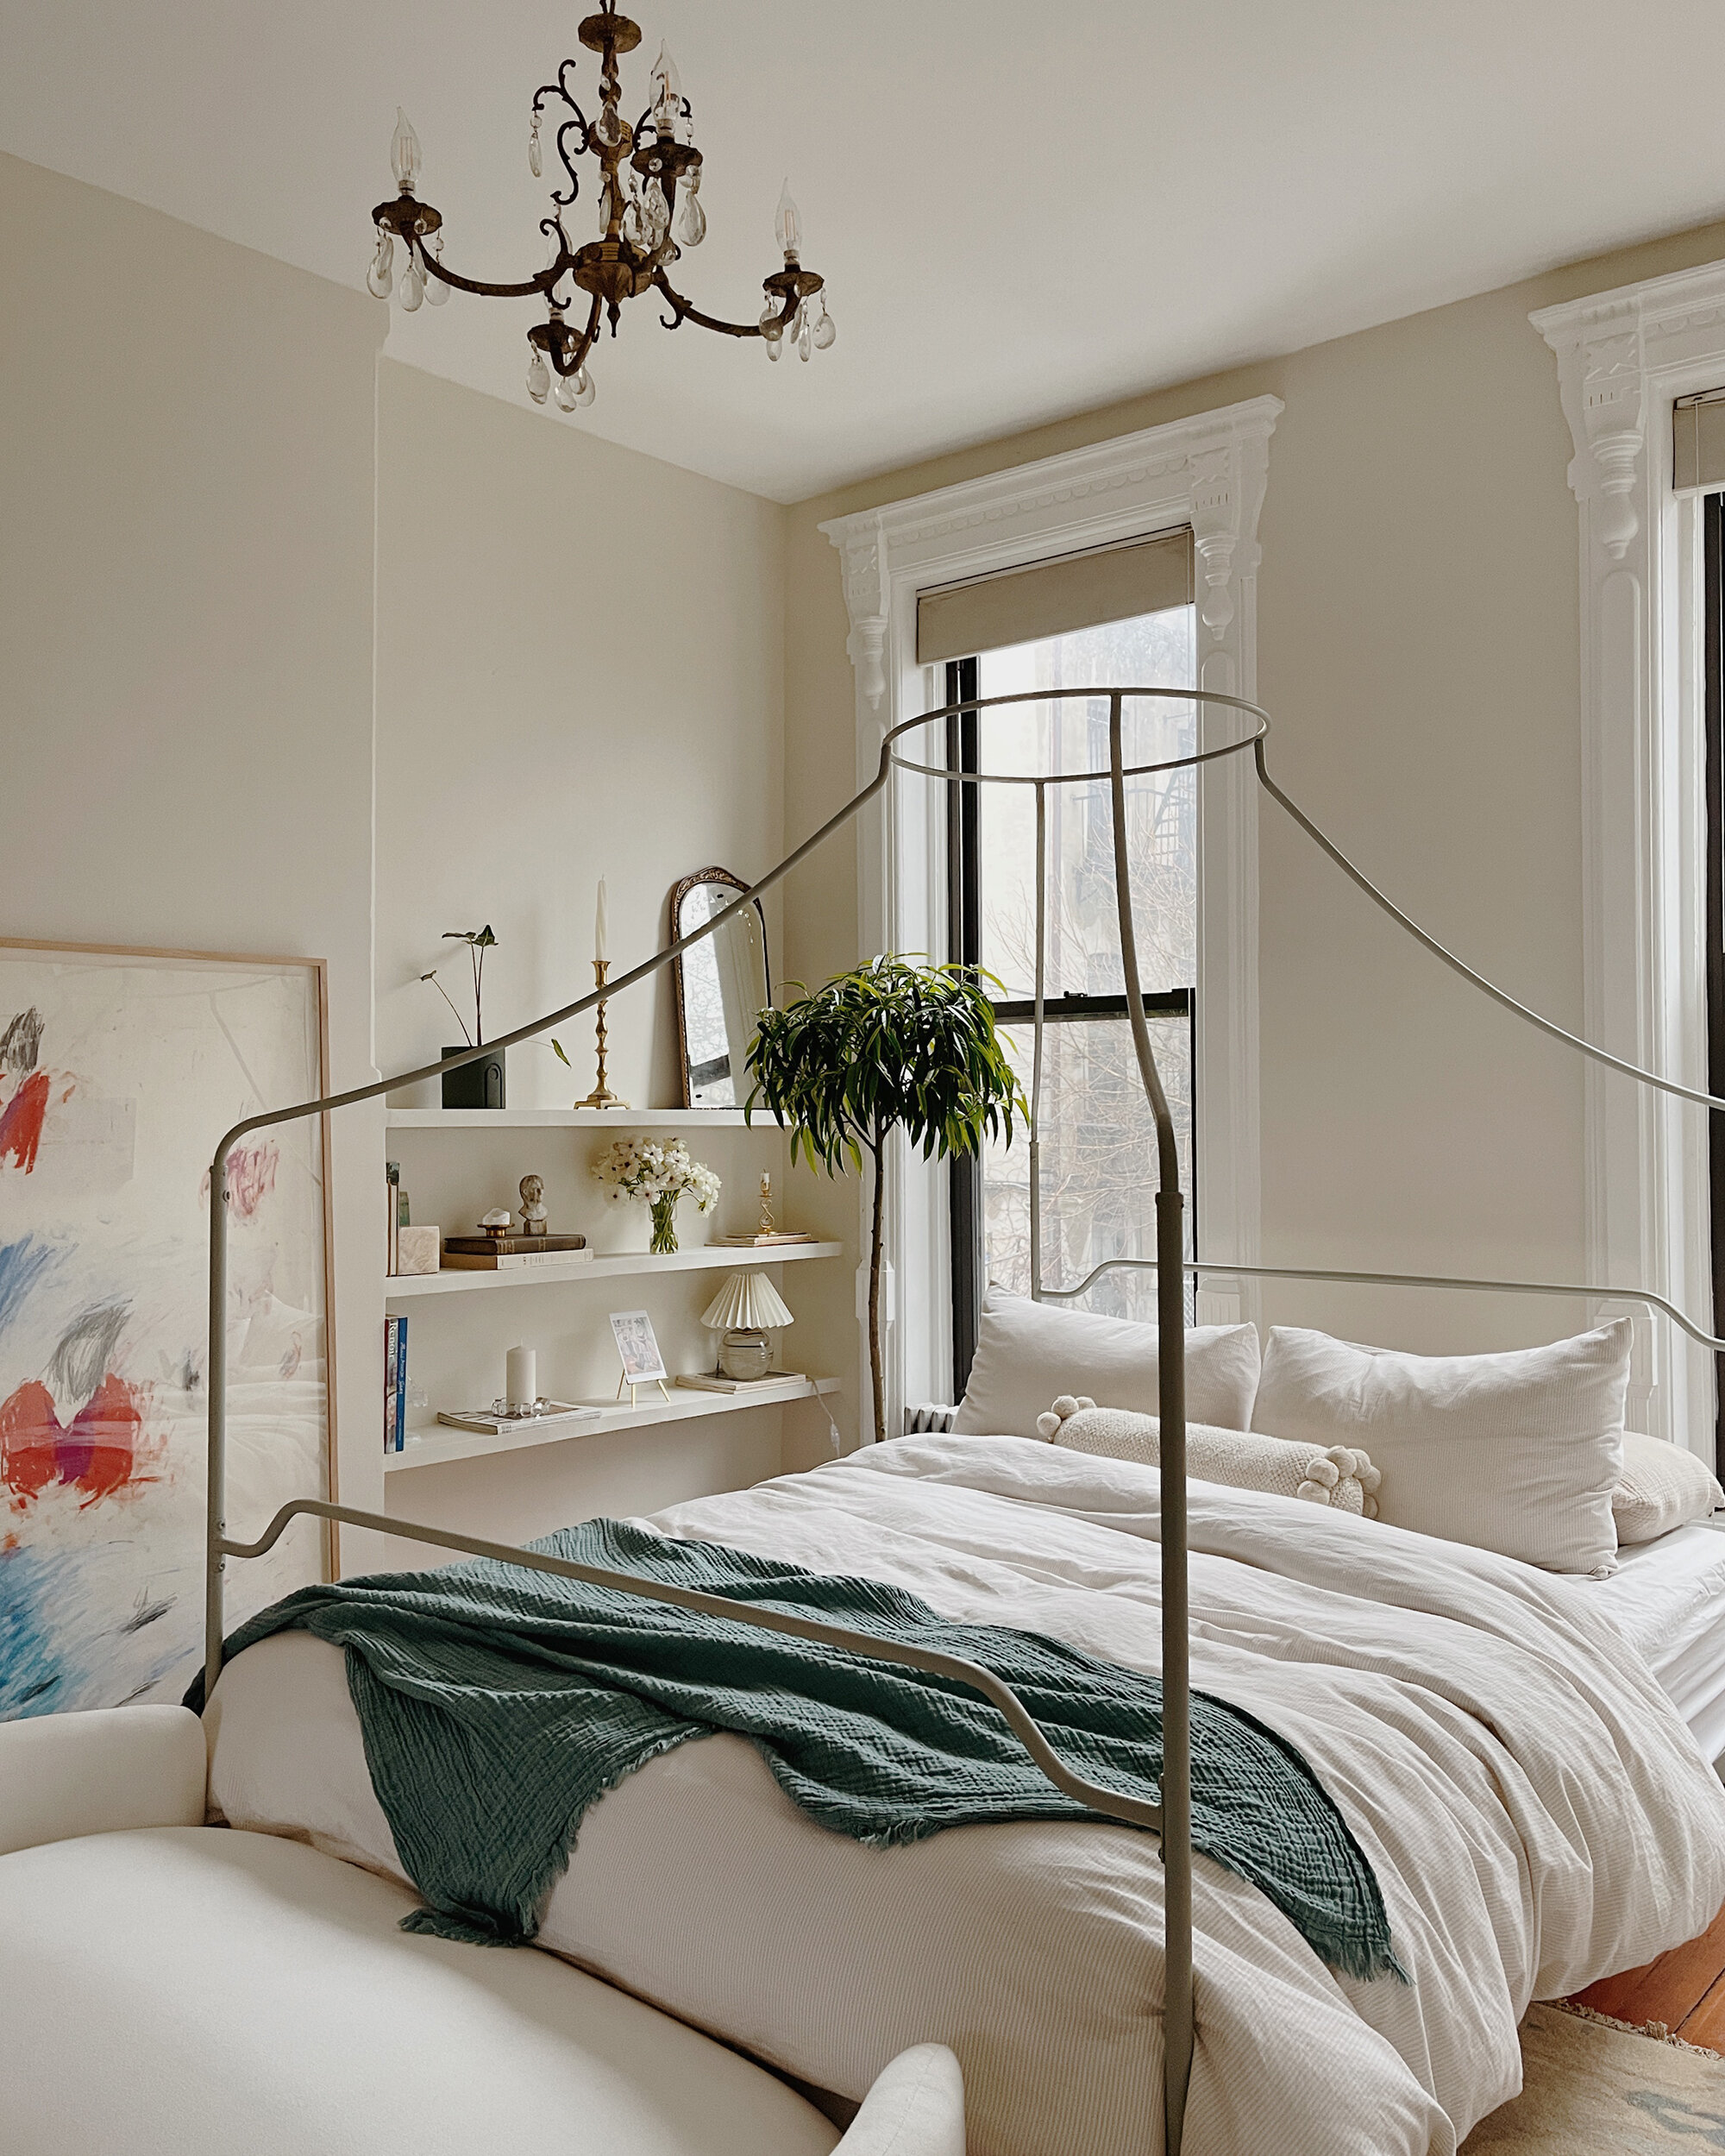
When we first saw the recessed walls in the bedroom, I knew right away that they would be perfect for adding shelves, and once we moved the bed to in front of the windows, I prioritized this wall in particular for shelving. The only thing was, I wanted them to look built-in. Like they could have been sculpted from plaster. Basically, I wanted a different look than the wood shelves we’ve always installed in the past. We decided to make the shelves out of our go-to wood from the hardware store, but use a combination of caulk, spackle, and paint to create a seamless look.
If there’s one thing to know about my working relationship with David, it’s that I’m usually the one with the initial vision and he’s the one that problem solves how to make it happen. We then collaborate on the finer details, i.e how many shelves, how thick are they, and so on.
I would be lying if I said that we add this all mapped out from the beginning. We were 100% making things up as we went along. That’s why I don’t have a step-by-step photo guide on how to build these for your own home. However, I can tell you the steps we took and the materials and tools we used just in case you want to have a go at it. The shelves aren’t perfect, but they turned out even better than I imagined and I LOVE them.
Just heads up, we are in no way contractors and this was our first time installing shelves in this way. The process was messy and there were quite a few steps. It’s 100% doable and most definitely cheaper than paying for custom shelves to be installed. However, you can find pre-drilled floating shelves and bracket sets on Etsy and the like, so all of this isn’t necessary if you don’t have power tools or aren’t into DIY.
Tools used:
Jig waw, chop saw, power drill, orbital sander, fine-grit sandpaper, and caulk gun
Materials used:
2x10’s from Home Depot, caulk, spackle, wall paint, and heavy-duty floating wall brackets
Steps we took to create them:
We cut the 2x10’s down to the size we needed using a chop saw. You could use a table saw or even a hand saw. Home Depot and Lowe’s can also cut them down for you if you know the length measurement when buying
After the length of the wood was where we needed it, we used a jigsaw (again, you could use a table saw) to cut the depth.
After both the length and depth cuts were made, we held the wood up in the space to mark where we wanted to hang each shelf.
Once we knew the shelf height(s), we installed the floating brackets and spread them out to provide even coverage. We ended up doing 3 shelves, so we used 12 brackets total. They were installed with screws and wall anchors
With the brackets installed, we held the wood shelves up to the brackets and marked precisely where to drill the holes needed to slide the shelves onto the brackets.
David used two different drill bits to create the holes for the brackets. There’s probably a more efficient way to do this, but again, we worked with what we already had. He used a 1/2” cattle bit and a long (10”) drill bit. For floating shelves, you really want a power drill unless you’ve purchased pre-drilled shelves.
After all of the holes were drilled, we attempted to slide the shelves onto the brackets. We ran into an issue which was the window trim. We ended up having to take chop the outer corner of each shelf off in order to slide the shelves onto the brackets (so they could get past the thick trim). We drilled chopped pieces back on after + used caulk/spackle to hide the cut.
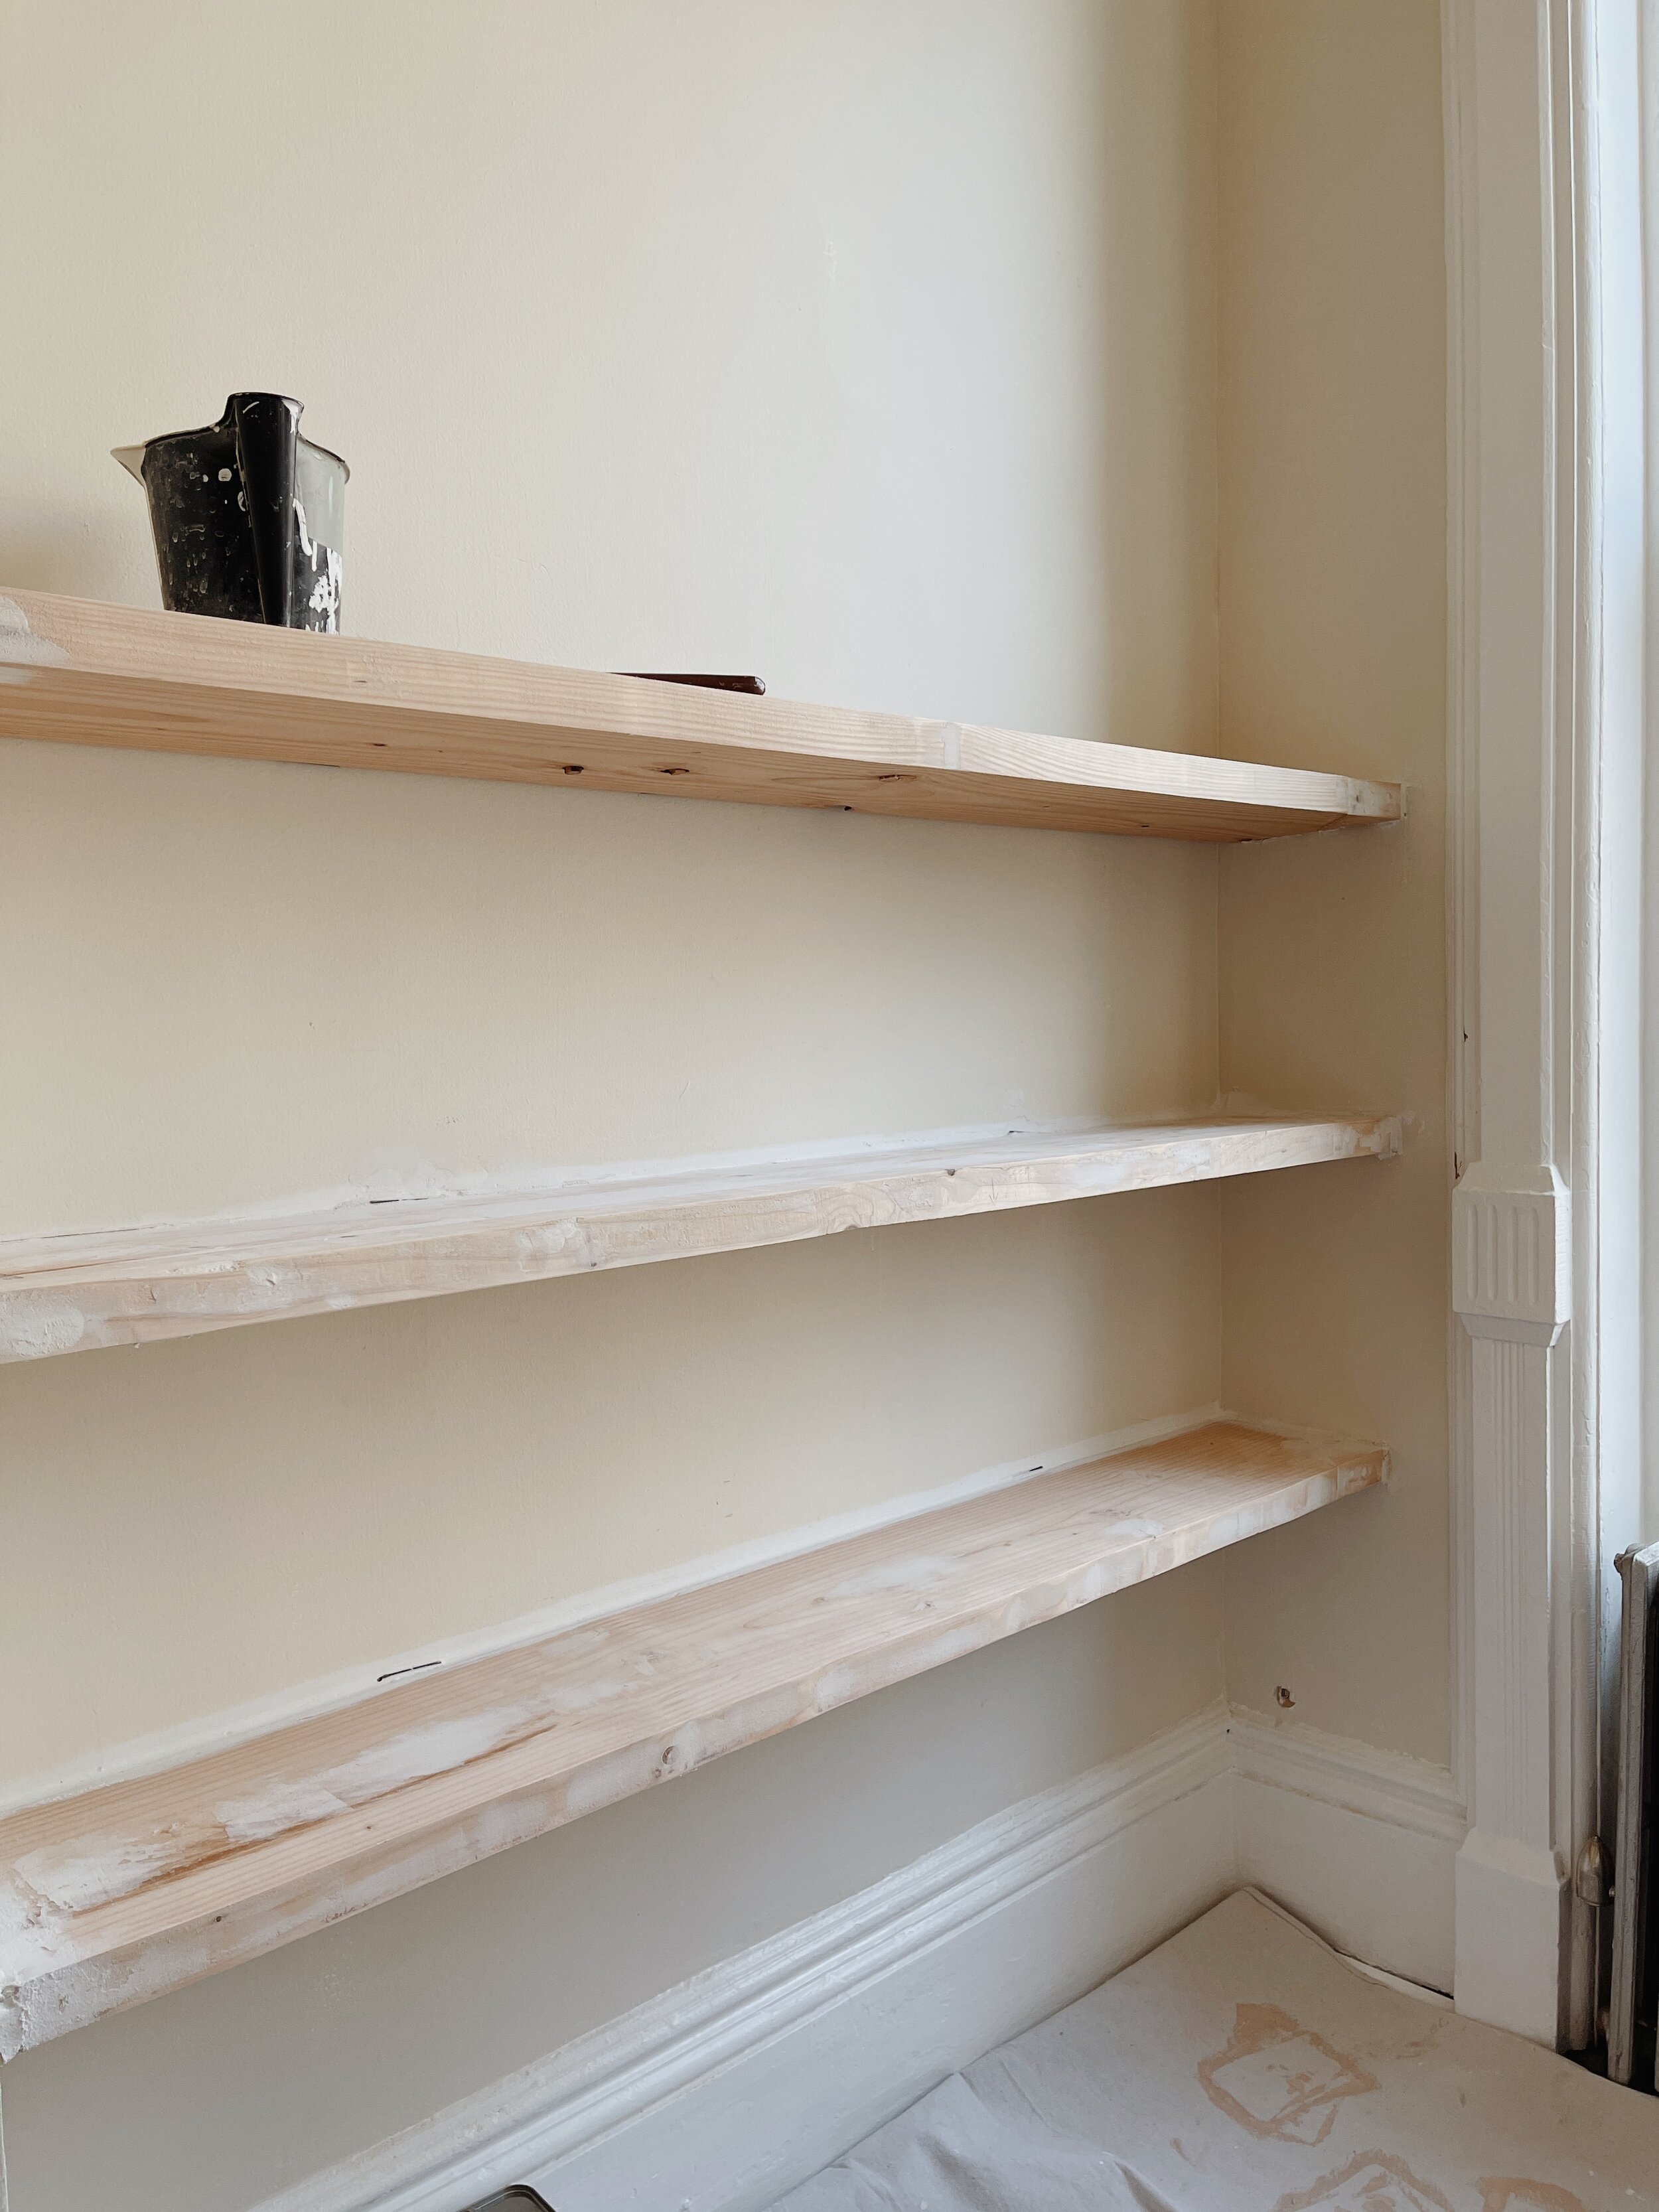
Once the shelves were all on the brackets, there were quite a few gaps between the wall and the shelves. so we ran caulk along the back and side edges to begin to fill the gaps. We had to wait until that was dry before assessing what to do next. TBH, there was a lot of waiting involved in this process.
After the caulk dried, we added spackle to the larger gaps (those were mostly at the sides) using a putty knife. A LOT of spackle was used.
Once the spackle dried, we sanded it down and added a more light-weight spackle to a few areas on the body of the shelves. Basically, we wanted to hide some of the natural grain and groves in the wood before painting. Again, this was sanded down a bit after drying.
The first coat of paint when on. We mostly rolled the paint with a small roller to mimic a stone or plaster-type material.
We applied an additional layer of light-weight spackle for any still-obvious graining coming through the paint. After that dried, we used an orbital sander to smooth it out a bit and then added a final layer of paint.
And that’s how we did it! Again, they’re not perfect, but they’re handmade and we love them.


